Basic Web Application Tutorial
Welcome to the API Ninjas basic web application tutorial! In this tutorial you'll learn how to build and run a simple trivia web application using the Python Flask framework on your computer. We'll introduce the following technologies/concepts:
Installing Python packages
Python
Flask web framework
Making HTTP API calls
Rendering HTML using templates
CSS
Prerequisites:
Internet connection
Valid API Ninjas API key (get a free one here)
Python3 installed
You can also download the finished code from our Github repository: https://github.com/API-Ninjas/API-Ninjas-basic-example-web
Setup
The first step is to install Flask. To install Flask (or any other Python package), first open up a terminal:
On Linux, press Ctrl + Alt + T.
On Mac OS, press Command + Space to open up spotlight search. Then type
terminalin the search bar.On Windows, press Super + R and type
cmdand press the return key.
In the terminal window, use the following command to install Flask:
pip install flask
Once the installation is complete, you can verify by opening a Python shell:
python3
Inside the shell, try importing flask. There should be no errors:
>>>import flask
>>>
Once Flask has been succesfully installed, install the requests package using the same steps:
pip install requests
Hello World
Once the packages has been successfully installed, the next step is to create a basic Flask Hello world app. Begin by creating a new file called app.py:
from flask import Flask
# Initialize Flask.
app = Flask(__name__)
# Define routing.
@app.route('/')
def index():
return 'Hello World!'
# Run the Flask app (127.0.0.1:5000 by default).
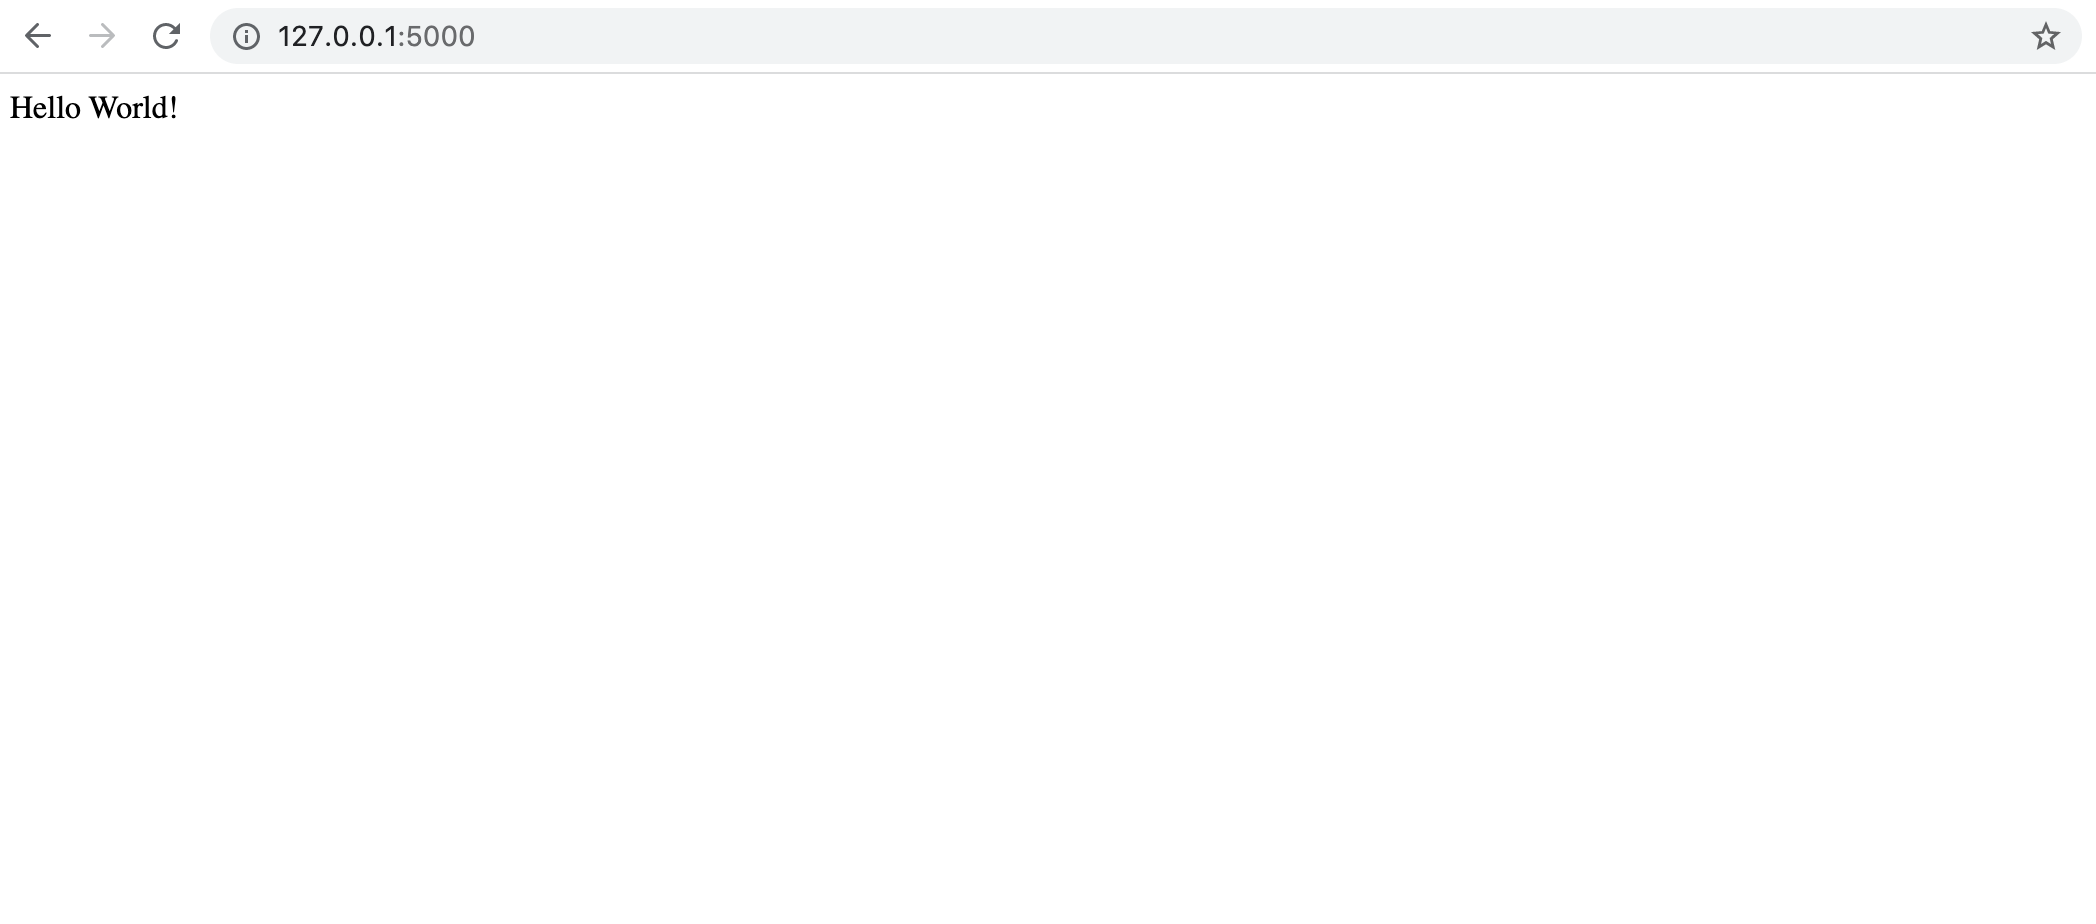
app.run()After saving the file, return to your terminal window and run your app by entering the following command:
python3 app.py
You should now be able to open any web browser and type 127.0.0.1:5000 into the URL bar to see your Flask app. It should look something like this:
Making API Calls
To actually get trivia questions and answers, we need to make a REST API call to API Ninjas.
First, let's import the requests package (used to make HTTP requests) and define the API endpoint as a string:
### app.py ###
from flask import Flask
import requests

# Define API URL.
TRIVIA_URL = 'https://api.api-ninjas.com/v1/trivia'
Next, update the routing function to make the HTTP request (don't forget to fill in your API key!):
# Define routing.
@app.route('/')
def index():
# Make API Call - make sure to use a valid API key.
resp = requests.get(TRIVIA_URL, headers={'X-Api-Key': 'YOUR_API_KEY'}).json()
# Get first trivia result since the API returns a list of results.
trivia = resp[0]
return trivia
Your code should now look like this:
### app.py ###
from flask import Flask
import requests
# Define API URL.
TRIVIA_URL = 'https://api.api-ninjas.com/v1/trivia'
# Initialize Flask.
app = Flask(__name__)
# Define routing.
@app.route('/')
def index():
# Make API Call - make sure to use a valid API key.
resp = requests.get(TRIVIA_URL, headers={'X-Api-Key': 'YOUR_API_KEY'}).json()
# Get first trivia result since the API returns a list of results.
trivia = resp[0]
return trivia
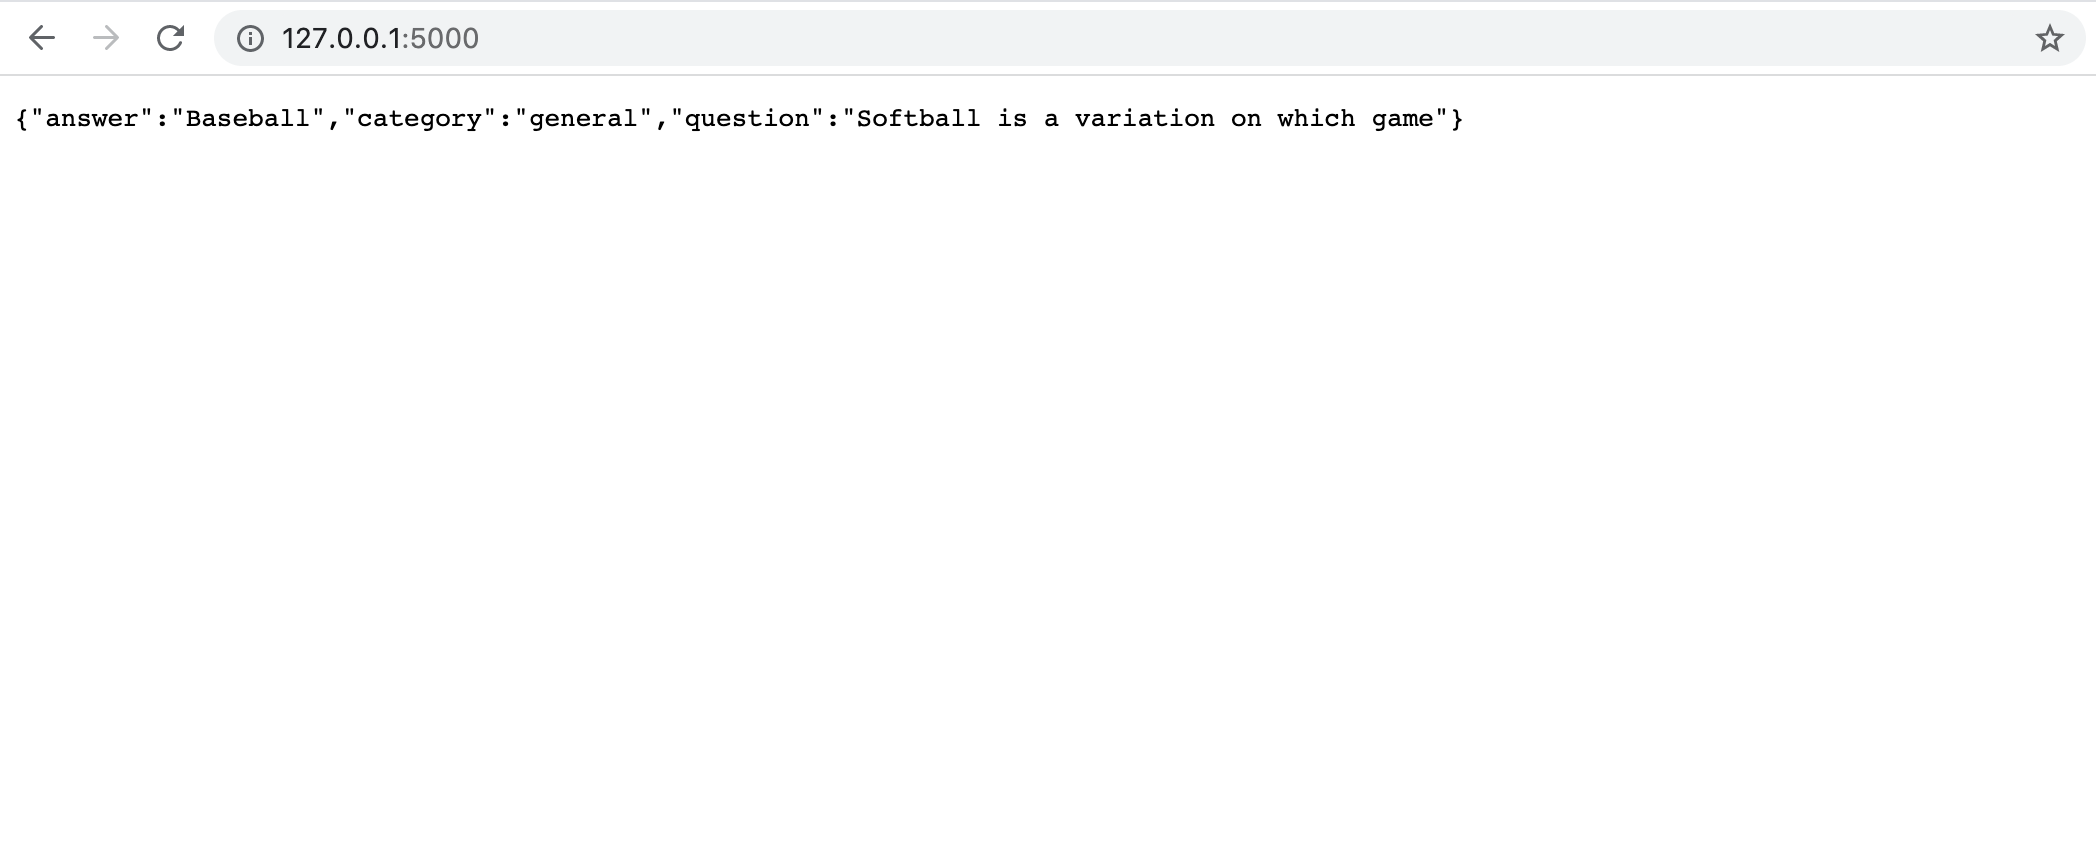
# Run the Flask app (127.0.0.1:5000 by default).
app.run()Run app.py again from your terminal and your browser should now display the API result and look something like this:
Displaying Results
Finally, let's make our web app interactive and better looking. We will use HTML rendering, which allows us to use a HTML template file to dynamically generate HTML pages displaying our trivia results.
First, let's create the HTML template. From the directory containing app.py, create a new directory called templates and within this folder create a file named index.py. Paste the following HTML into the file:
<!--templates/index.html-->

<!doctype html>
<html lang="en">
<head>
<!-- Required meta tags -->
<meta charset="utf-8">
<meta name="viewport" content="width=device-width, initial-scale=1, shrink-to-fit=no">

<!-- Bootstrap CSS -->
<link rel="stylesheet" href="https://stackpath.bootstrapcdn.com/bootstrap/4.3.1/css/bootstrap.min.css" integrity="sha384-ggOyR0iXCbMQv3Xipma34MD+dH/1fQ784/j6cY/iJTQUOhcWr7x9JvoRxT2MZw1T" crossorigin="anonymous">
<link rel="stylesheet" href="../static/css/style.css">

<title>API Ninjas Trivia Example App</title>
</head>
<body>
<div className="container h-100">
    <div className="row text-center align-items-center h-100">
        <div className="mx-auto container">
            <div className="m-5">
                <p>{{ question }}</p>
            </div>
            <div className="m-5">
                <p id="answer" className="answer">Answer: <strong>{{ answer }}</strong></p>
                <button className="btn btn-lg btn-primary" onclick="$('#answer').show(); $(this).hide();">Show Answer</button>
            </div>
            <div className="m-5">
                <button className="btn btn-lg btn-outline-light" onclick="window.location.reload();">Next Question</button>
            </div>
        </div>
    </div>
</div>

<!-- Optional JavaScript -->
<!-- jQuery first, then Popper.js, then Bootstrap JS -->
<script src="https://code.jquery.com/jquery-3.3.1.slim.min.js" integrity="sha384-q8i/X+965DzO0rT7abK41JStQIAqVgRVzpbzo5smXKp4YfRvH+8abtTE1Pi6jizo" crossorigin="anonymous"></script>
<script src="https://stackpath.bootstrapcdn.com/bootstrap/4.3.1/js/bootstrap.min.js" integrity="sha384-JjSmVgyd0p3pXB1rRibZUAYoIIy6OrQ6VrjIEaFf/nJGzIxFDsf4x0xIM+B07jRM" crossorigin="anonymous"></script>
</body>
</html>
Next, let's add some CSS to style our web app. Also from app.py directory create another folder named static, create another directory within this directory named css, and within this inner directory create a file named style.css containing the following code:
/* static/css/style.css */

html {
height: 100%;
}

p {
color: white;
font-size: 2em;
font-weight: 200;
margin: 0;
}

body {
height: 100%;
margin: 0;
background-repeat: no-repeat;
background-attachment: fixed;
background: rgb(255,122,113);
background: linear-gradient(180deg, rgba(255,122,113,1) 0%, rgba(250,152,110,1) 100%);
}

.answer {
display: none;
}
Finally, let's modify our app.py file to use the new template. Replace the Flask import statement to also import the render_template function:
### app.py ###
from flask import Flask, render_template
Render the template within our routing function with the trivia question and answer:
# Define routing.
@app.route('/')
def index():
# Make API Call - make sure to use a valid API key.
resp = requests.get(TRIVIA_URL, headers={'X-Api-Key': 'YOUR_API_KEY'}).json()
# Get first trivia result since the API returns a list of results.
trivia = resp[0]
# Render HTML using the trivia question and answer.
return render_template('index.html', question=trivia['question'], answer=trivia['answer'])
Your app.py file should now look like this:
from flask import Flask, render_template
import requests

# Define API URL.
TRIVIA_URL = 'https://api.api-ninjas.com/v1/trivia'

# Initialize Flask.
app = Flask(__name__)

# Define routing.
@app.route('/')
def index():
# Make API Call - make sure to use a valid API key.
resp = requests.get(TRIVIA_URL, headers={'X-Api-Key': 'YOUR_API_KEY'}).json()
# Get first trivia result since the API returns a list of results.
trivia = resp[0]
# Render HTML using the trivia question and answer.
return render_template('index.html', question=trivia['question'], answer=trivia['answer'])

# Run the Flask app (127.0.0.1:5000 by default).
app.run()
Run your app again from the terminal, and now you should see the final, colorful version:
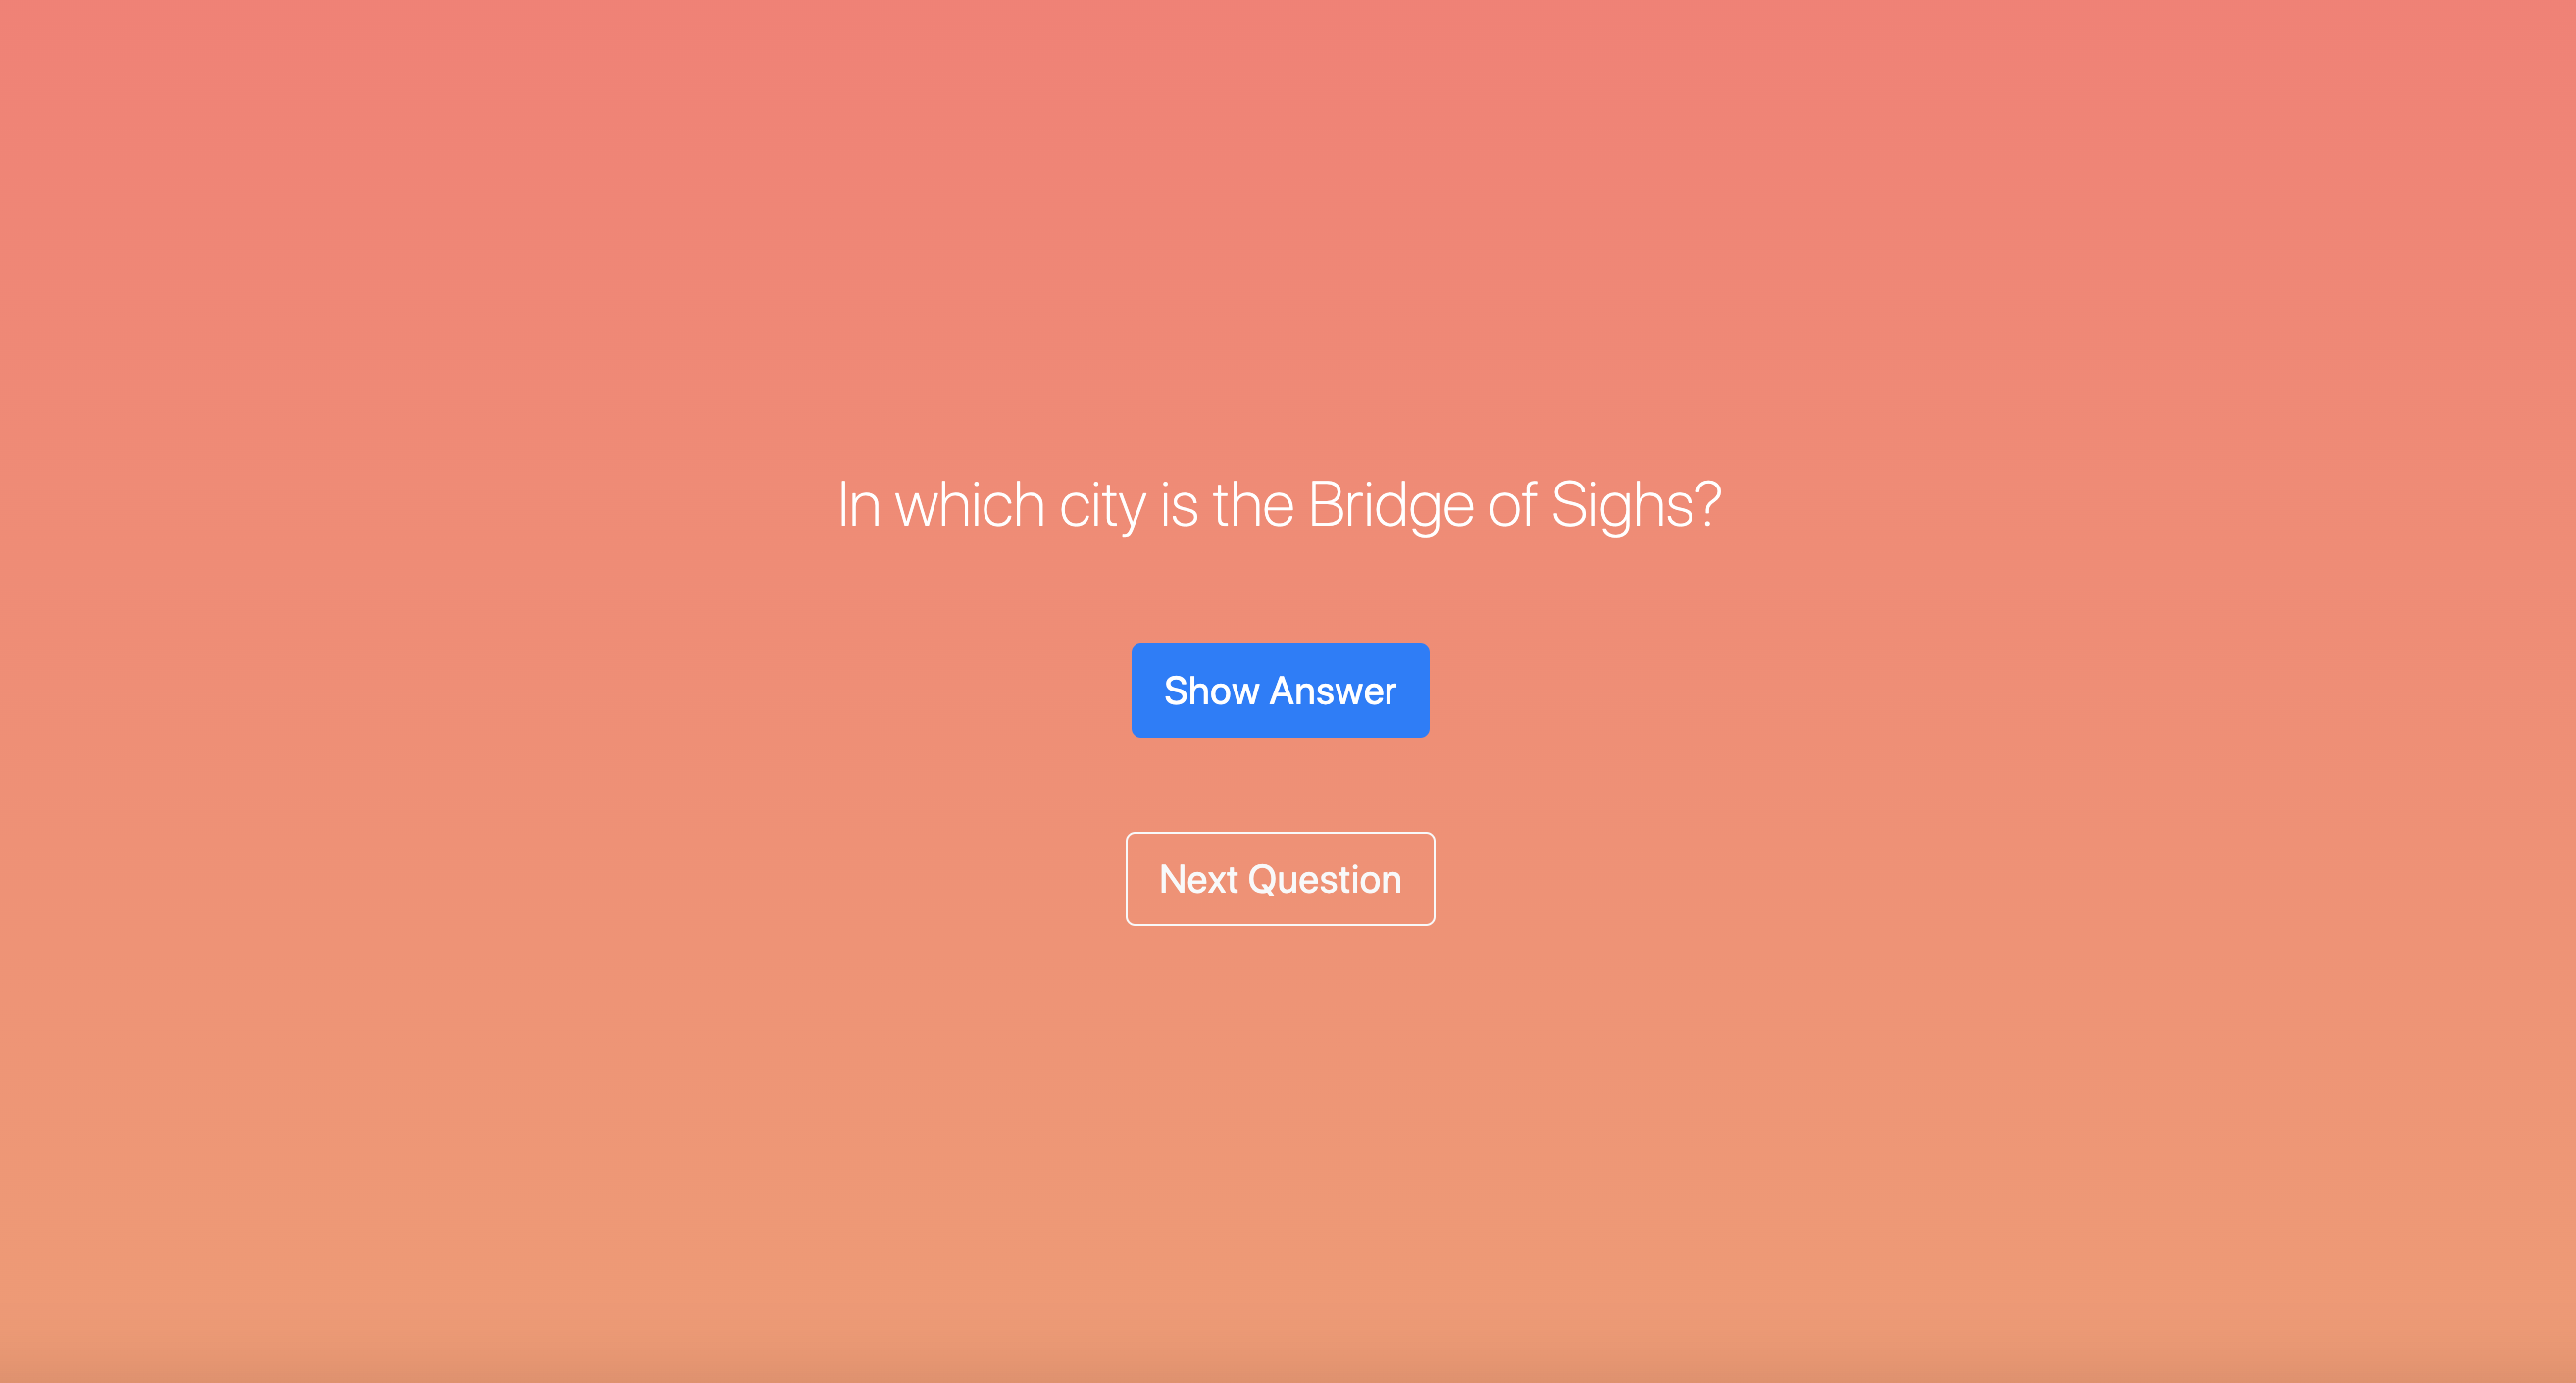
The app should also be responsive now - you should be able to clicks the two buttons to display the answer and to load another question, respectively.